Updated list:
67 Jon’s 1100 mile take off-No Tab- Has angled nuts
67 11A LOS Has tab but not as pronounced as many. Robert
68 03D NOR Has tab Darrell
68 04D NOR Has tab Janobyte
68 05E NOR Has tab Danny
68 06A NOR Has tab DaveV
68 07C NOR Has tab JerryG
68 07D NOR Has tab Skip
69 LOS Has tab Mike1971
69 NOR Has tab Mike1971
69 11A NOR No tab Has angled nuts & orig. battery hold down clamp. Noyenko
69 Has tab but not as pronounced as many. Noyenko
69 01C NOR Has tab Jude
69 02D NOR Has tab SteveS
69 03B NOR Has tab SteveS
69 08C NOR Has tab Bullitt65
69 09A NOR Has tab (late built) Robert
69 09D NOR Has tab (late built) Skip
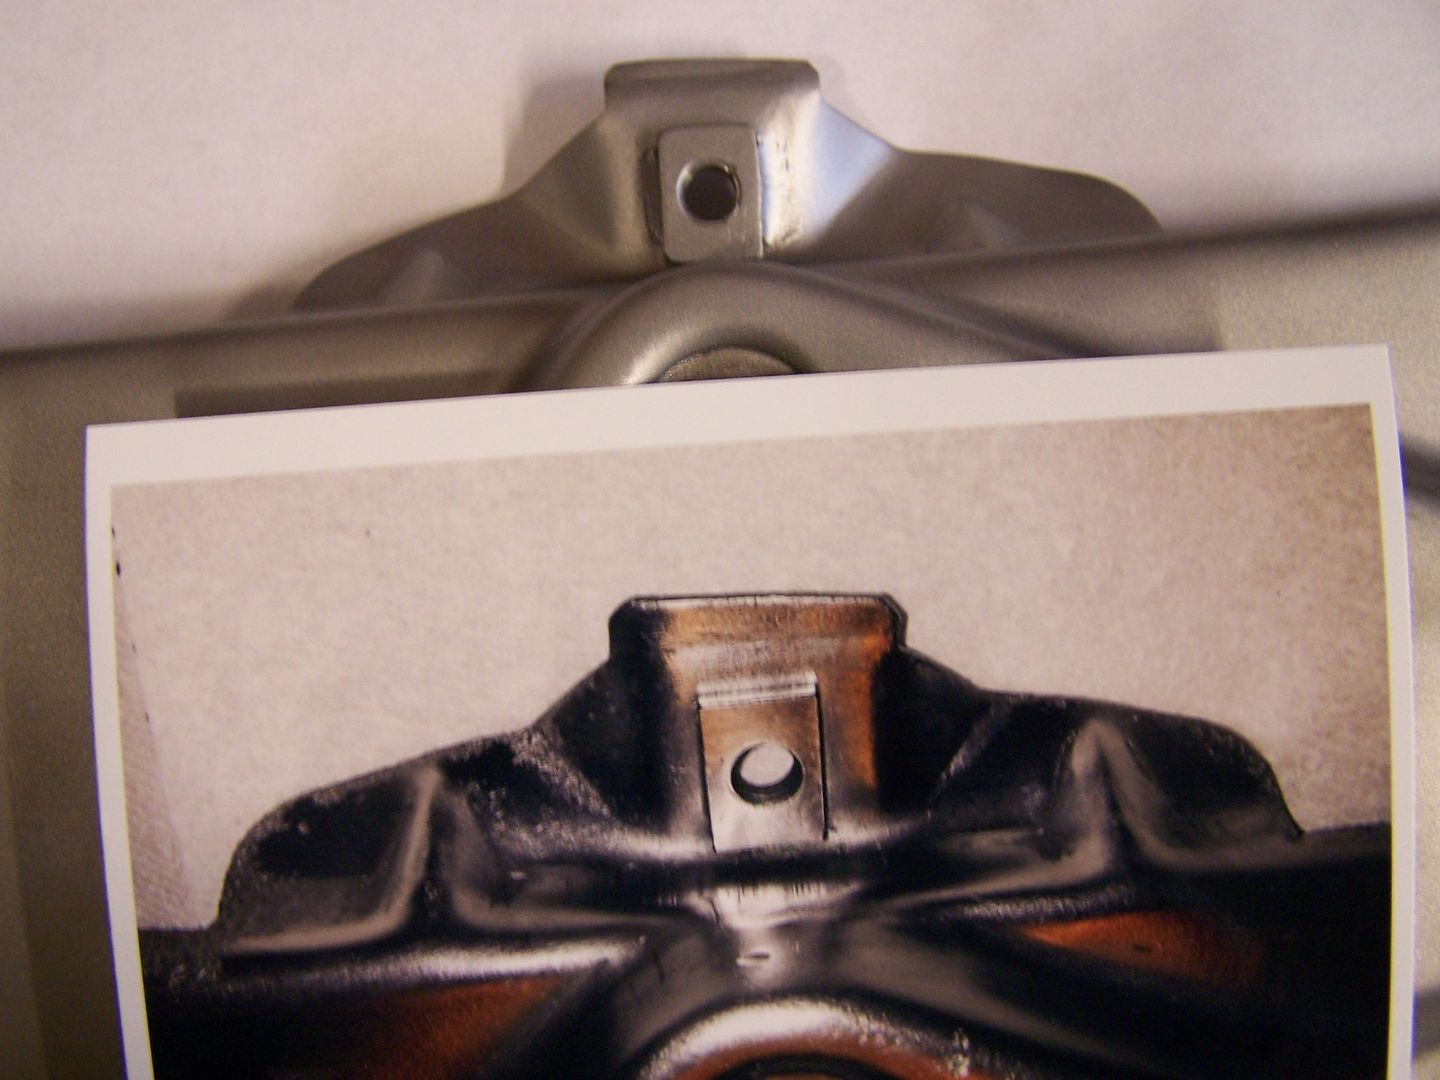
On the pictures of originals I’ve accumulated they all have a very similar pattern in making. The rectangular nut on the underside of the battery tray where the battery hold down fastens is oriented the same way on originals and also service replacements but 90 degrees off on the AMD reproduction. Service replacements have all three nuts oriented the same but on originals each of the three are at different angles but each maintains that same ange from tray to tray. Originals always seem to have a slight angle in the tab and the tab corners have a distinct 45 degree type corner break or nice radius. Originals display a sharp depression from the dye used whereas service replacements seem to be more rounder and not distinct. Another view of the repro picture followed by Jerry’s 07C 68 Z/28 original battery tray with some arrows showing specific items.
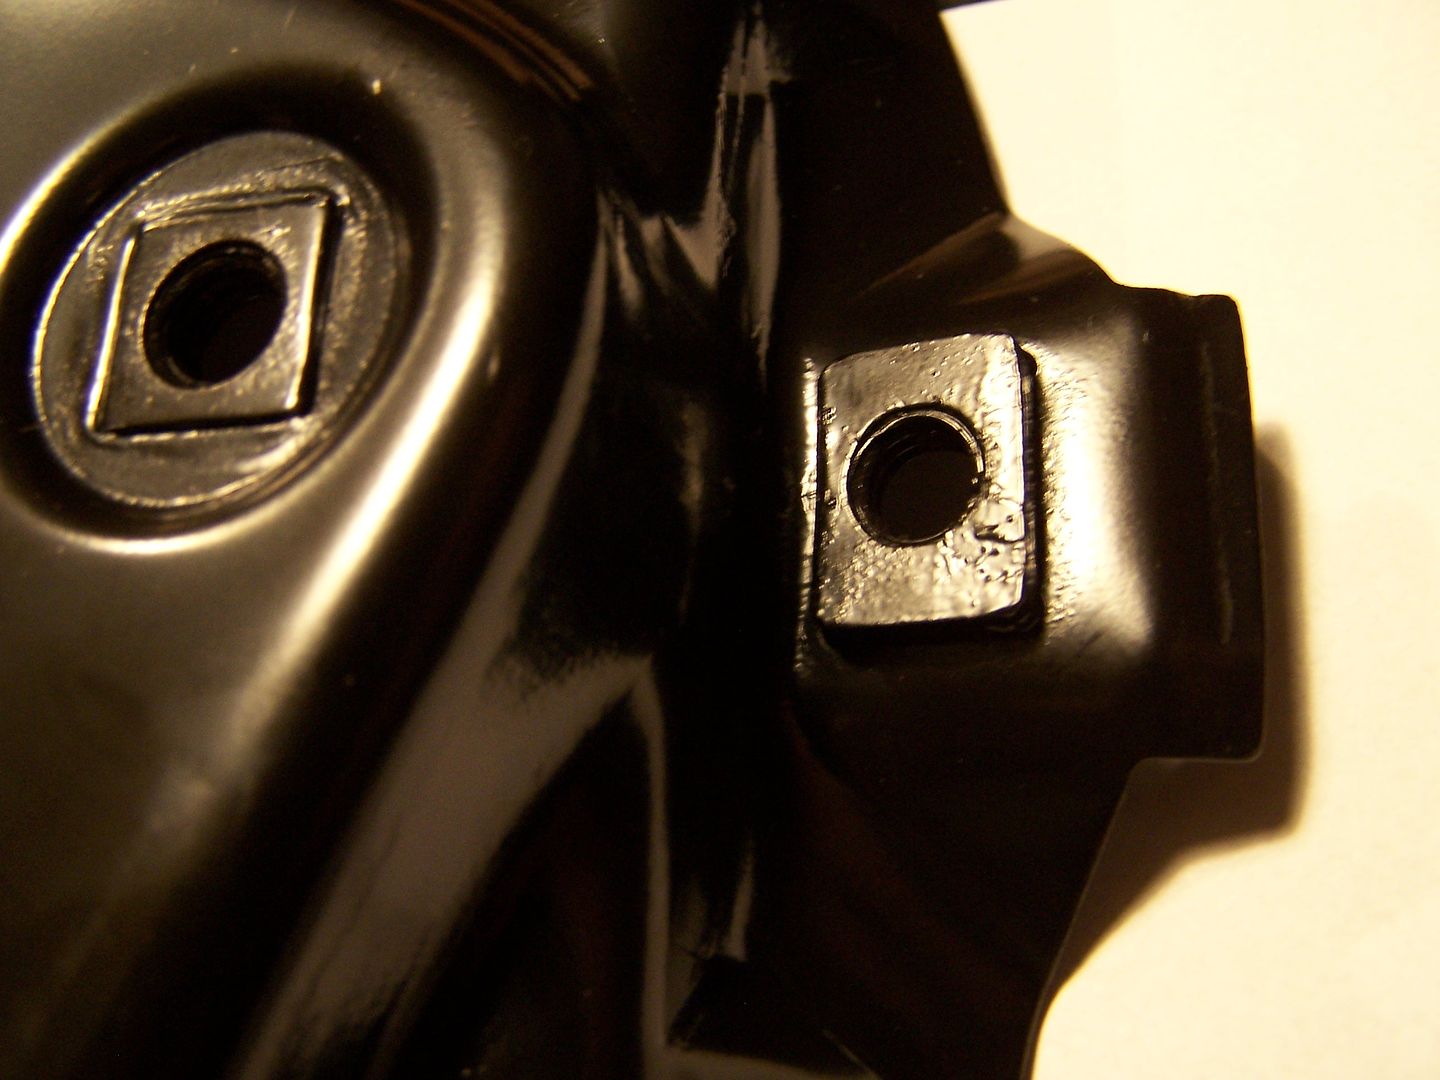
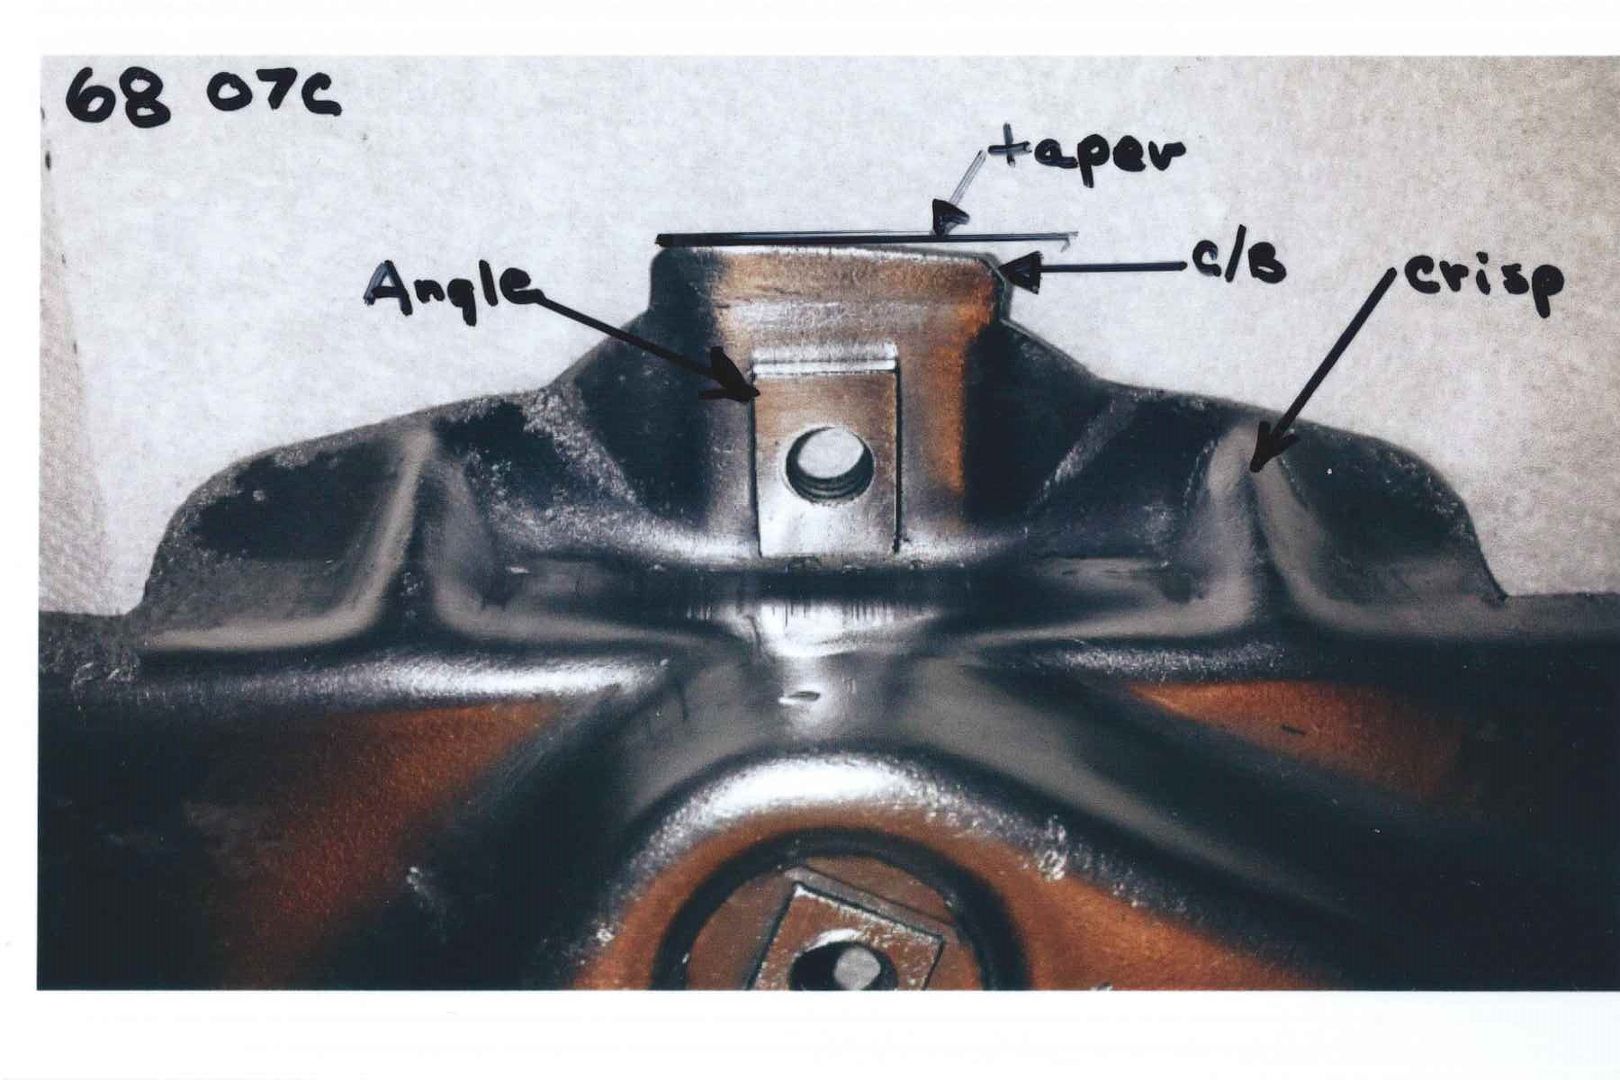
OK, lets see about transforming one of those AMD battery trays to be a dead ringer for a born with rascal!
I started by carefully removing some of the corner weld on the rectangular nut, placed a bolt in the thread, and while supporting the tray on a vice gave the bolt a hit with a hammer. OK, it took a few hits but it came out.
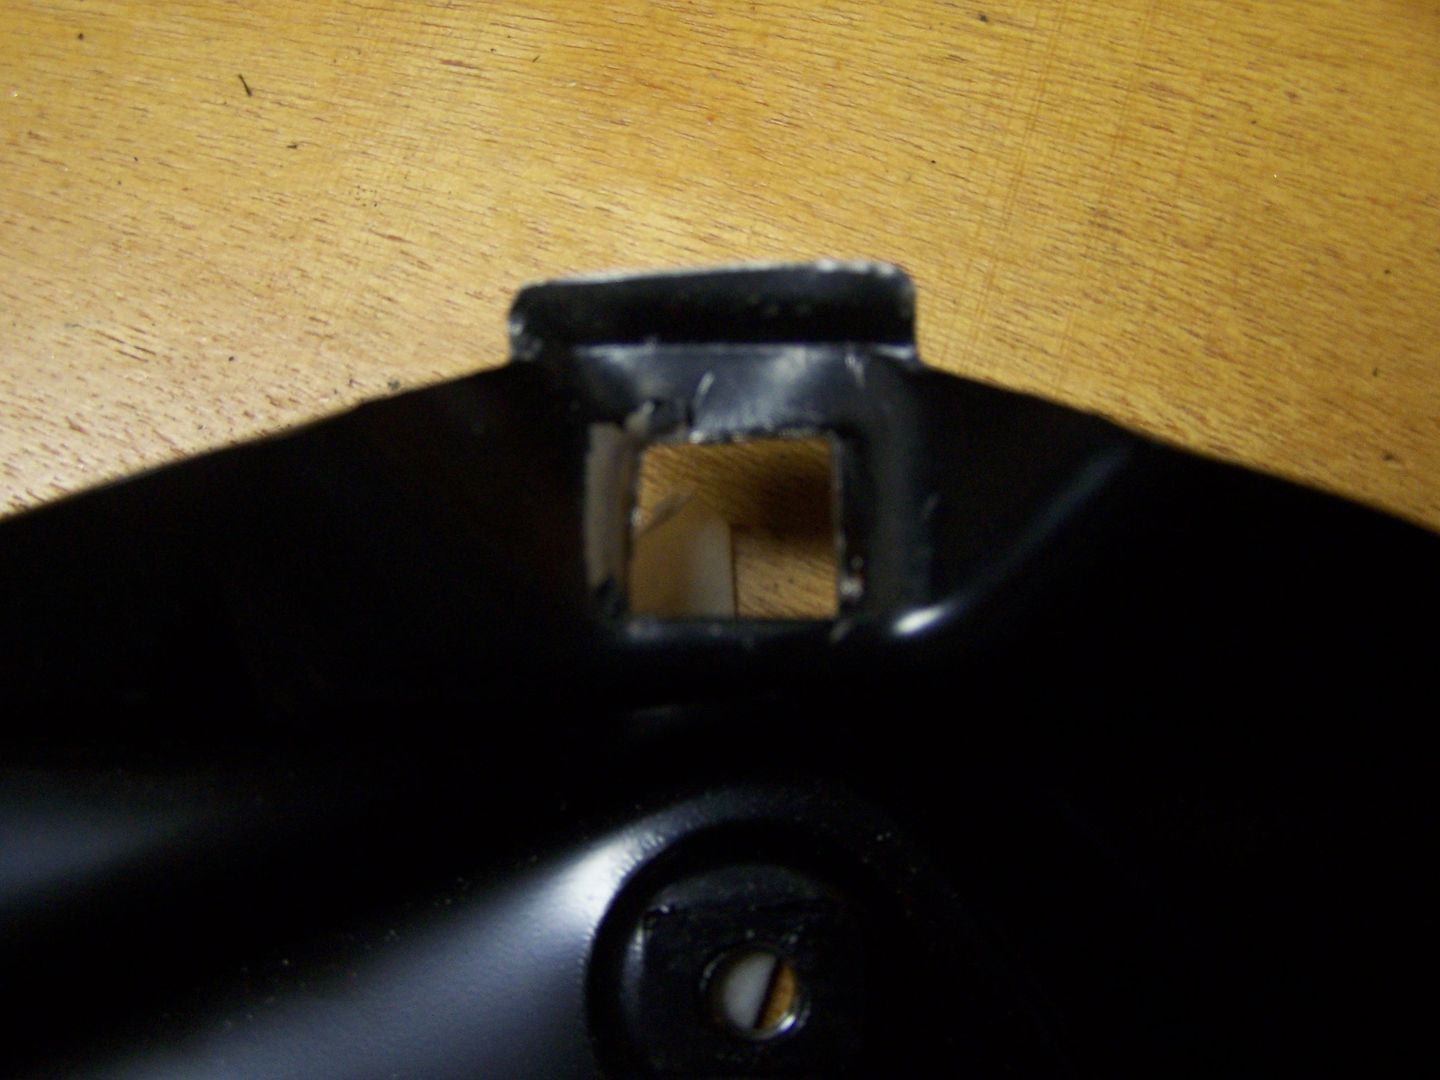
Clean some burrs off, orient the rectangular nut correctly and tig weld back in from the top side because the clamp hides any small imperfections but the underside could be seen with a mirror or by feel. Special thanks to Lonny and East Coast Muscle Cars for the tig welding. I probably would have burned a hole clean thru.
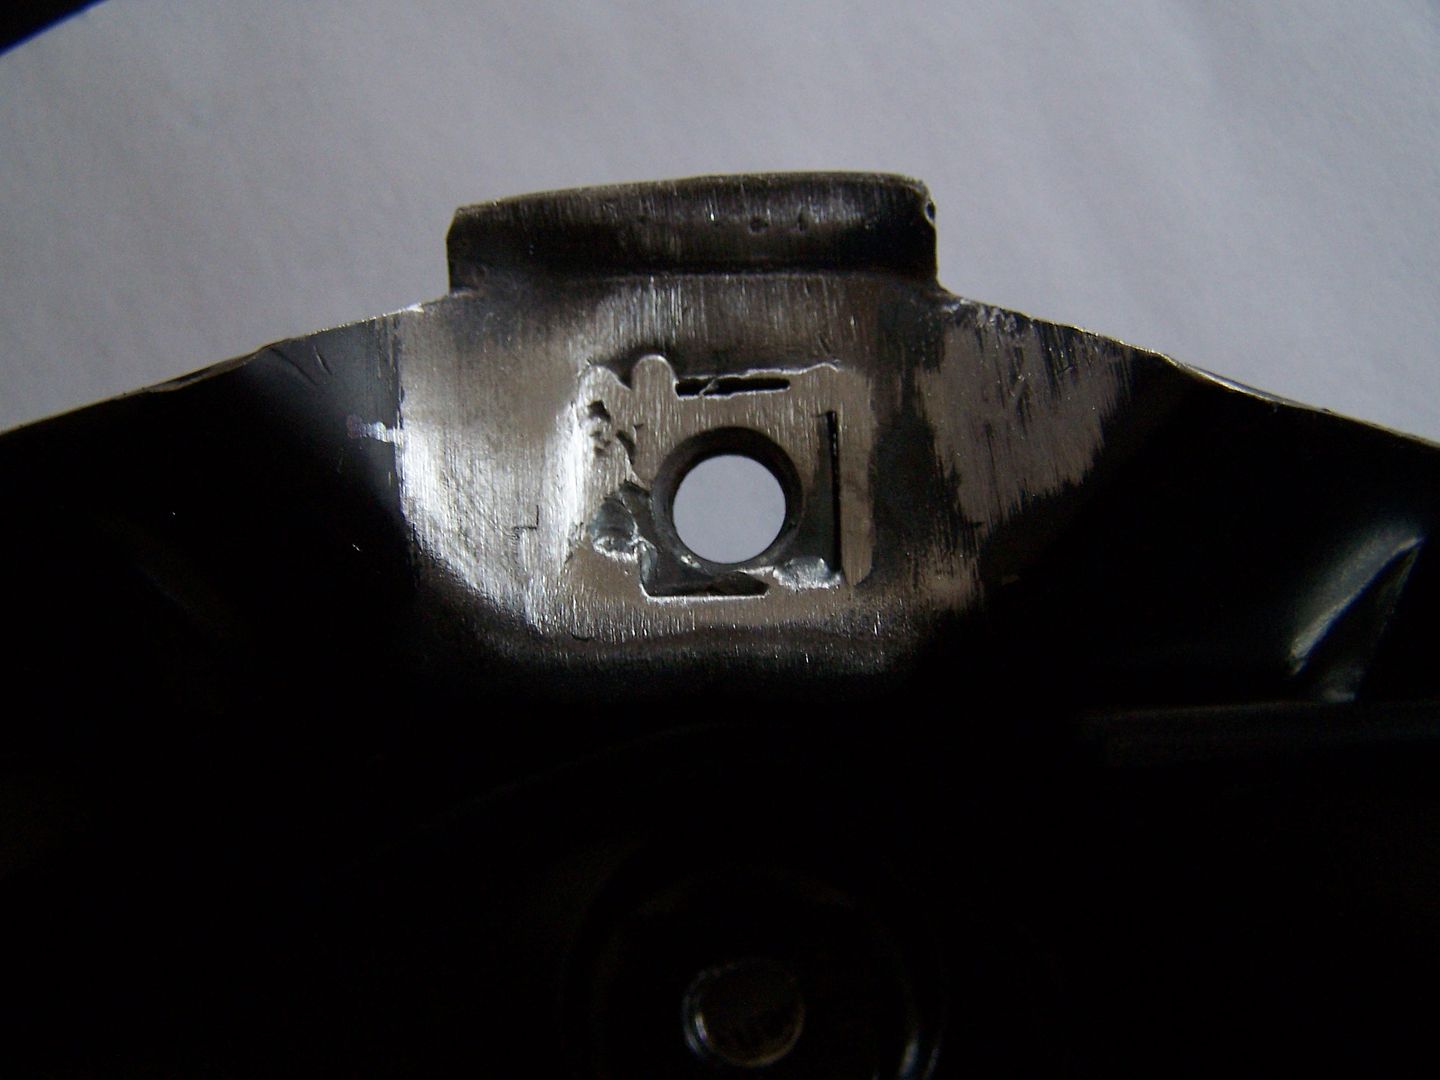
Now by working the tab to match (I used hand files for a lot of this) with some sanding followed by a glass bead operation lets see how it compares to an original.
The top picture the AMD tray after rework compared to the bottom tray of Jerry’s original. Umm, looks good to me.
Next step a good coat of epoxy primer followed by a top coat.
